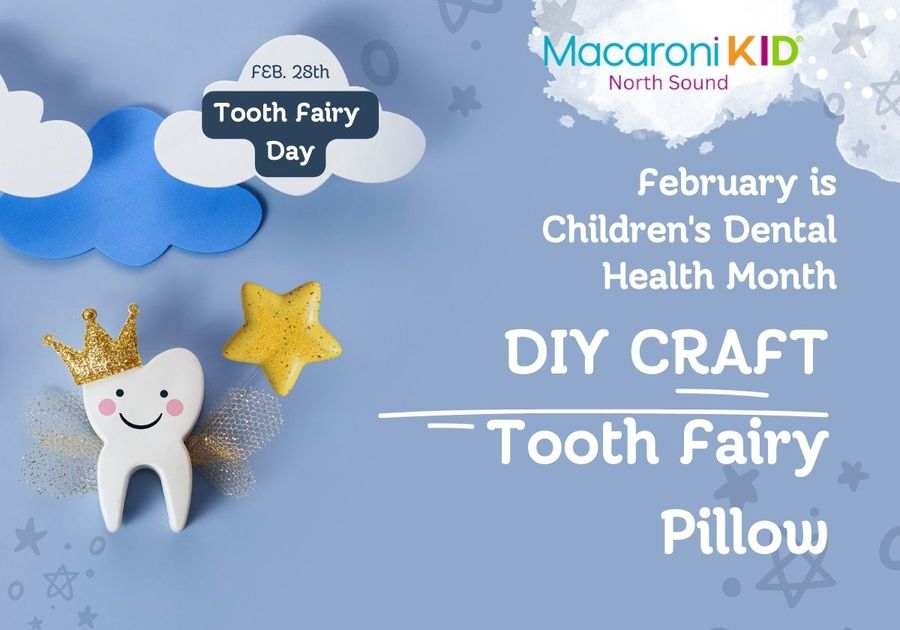
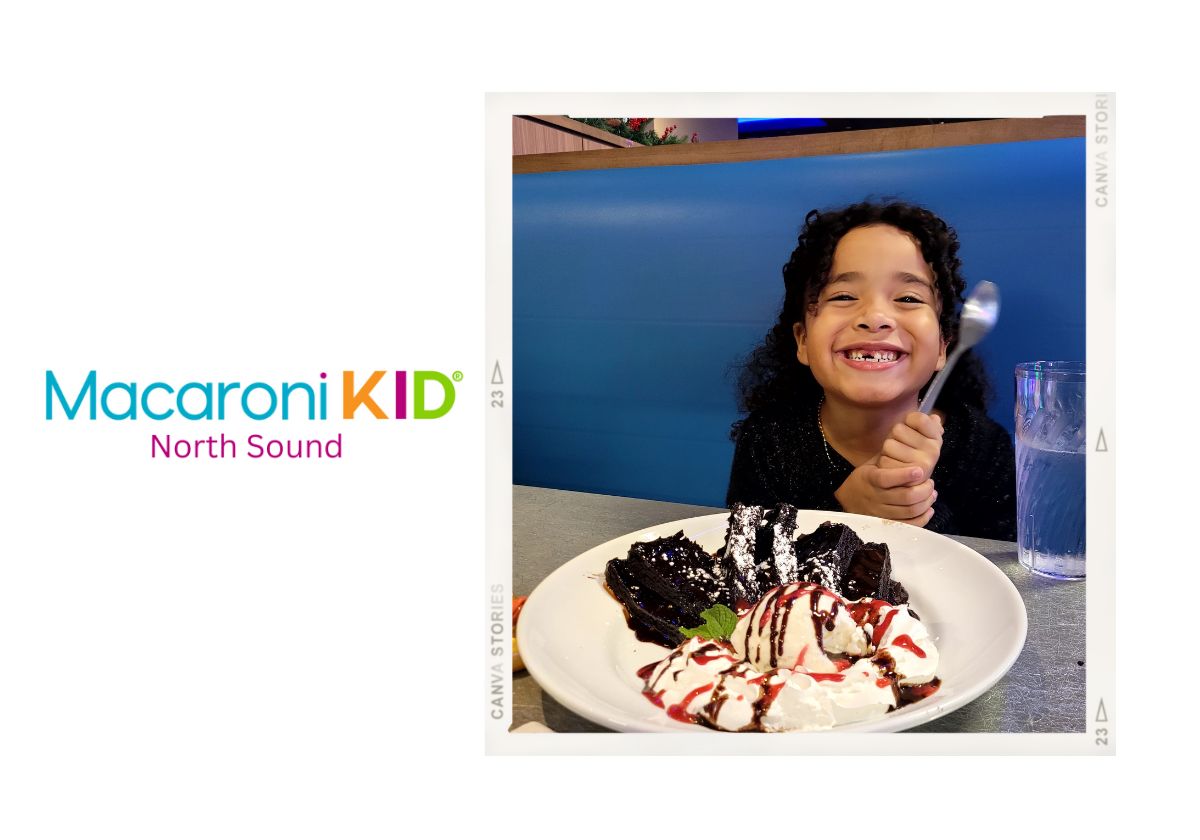
February is Children’s Dental Health Month and what a surprise that our daughter lost a front tooth just days before Tooth Fairy Day happening on February 28th!
 |
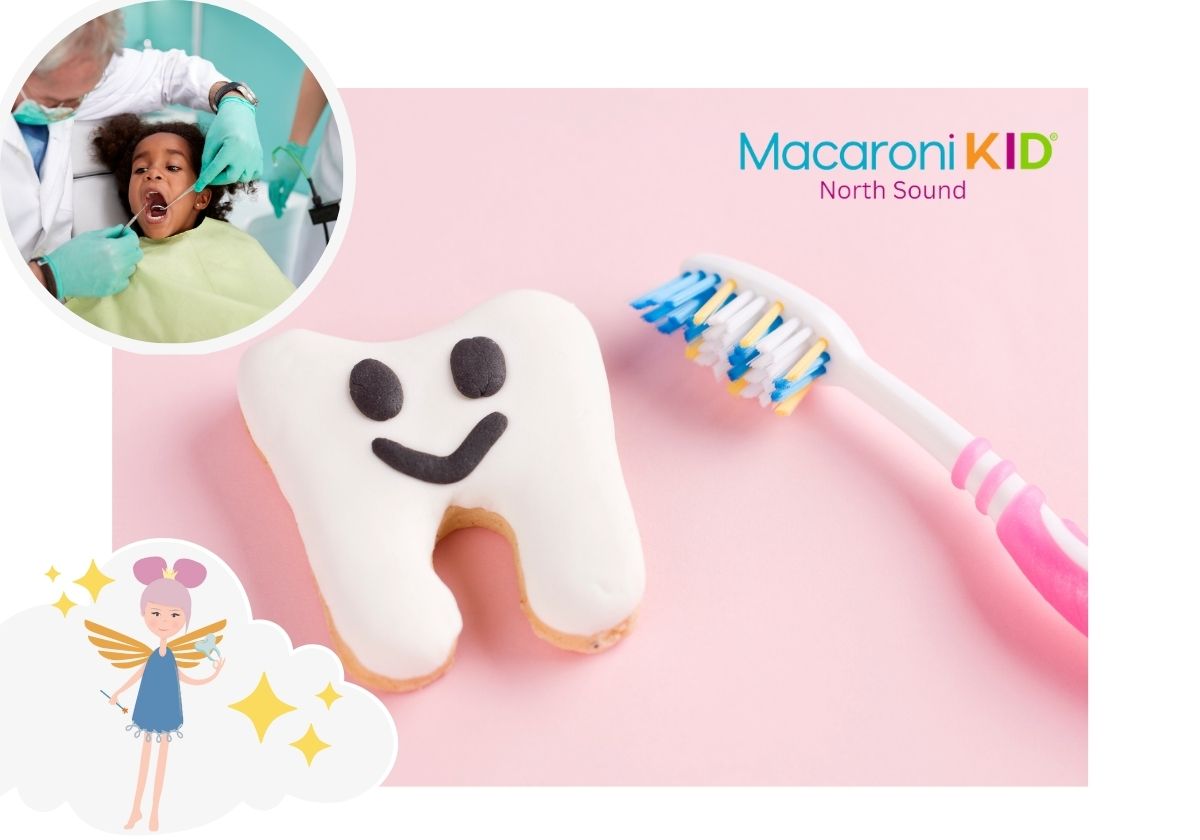
Tooth Fairy Day is a great time to introduce dental health to our children. The whole tradition of the Tooth Fairy helps our children to remember to take care of their teeth and goes a long way in our household. After all, the tooth fairy’s generosity is dependent upon receiving a clean, healthy tooth! Brushing and flossing each day is essential. This conversation comes as a reminder for our little ones to take extra good care of their teeth so that they will learn the importance of keeping good dental health.
 |
Since my daughter just lost her first front tooth this week we decided to craft up a little pillow for the tooth to sit in so it wouldn’t get lost during the night. I am sucker for keepsakes, so I still have my daughter’s swaddle blankets from when she was swaddled as a baby. I thought one of these would make for the perfect fabric for a Tooth Fairy Pillow, but you can use any scrap piece of fabric or old shirt to make these easy DIY Tooth Fairy Pillows.
Under adult supervision my daughter was able to operate a glue gun for this activity but if you don’t trust your little ones to operate one, you will need a sewing machine or a needle and thread. If you have smaller ones around 4 or 5 you can always do the sewing and gluing yourself then have the little ones decorate the pillow with stickers, gems, or fabric paint.
Since these are made of fabric, we found that hot gluing the stickers onto the pillow worked best.
DIY Tooth Fairy Pillow or Pouch
Materials Needed:
- any scrap piece of fabric or old shirt
- Sewing machine or glue gun
- Poly-fil or cotton balls – don’t have any? No problem just skip stuffing and make a pouch instead*
- Optional decal: stickers, gems, or fabric paint works great.
Instructions
- Cut out two pieces of fabric equal sized. We measured 4” by 4” for a nice hand sized pillow.
- Next, Glue/ Sew three sides together so that there is an opening on one side, creating a pocket.
- Fill the pocket with Poly fill or cotton balls until it is perfectly plump to your liking.
- Close the pocket by sewing or gluing the edge together.
- Using the same measurement as step one, cut out an extra piece of fabric one inch shorter on one side than the original measurement. We used 4” by 3” in this manner.
- Glue/ sew three sides of the 3rd piece of fabric to the pillow formed. This will create a pocket for the tooth to sit in during the night.
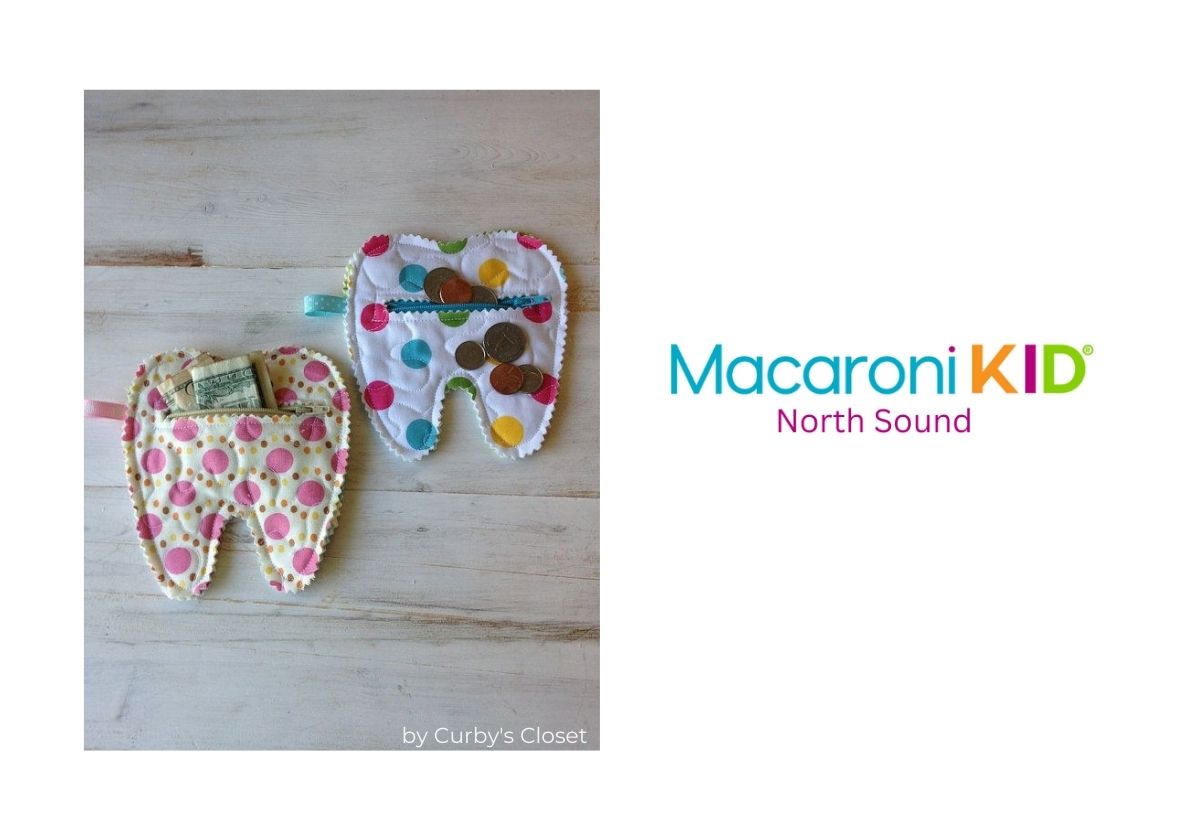
Such a fun and easy DIY for you and your children to take part in for a Family Day of Dental Health, while helping you and your family keep track of those tiny little teeth as they start falling out! Take a look at these cute Pillow Pouches created by Curby's Closet, they even include a zipper!
 |
As you can see there are so many different ideas for how you can get crafty with your little one to create something keepsake worthy that will bring joy to your child as they mature through this precious growth stage. Here you can find a FREE Printable Pattern if you want to try a tooth shaped pouch of your own! Stay inspired friends!
Let me know if you tried this DIY project? I love hearing your stories, contact me here, anytime!
Do you have a craft you'd like to share with us? Email us and we'd love to share mackidnorthsound@macaronikid.com
Let's Stay Connected!
 |  |  |